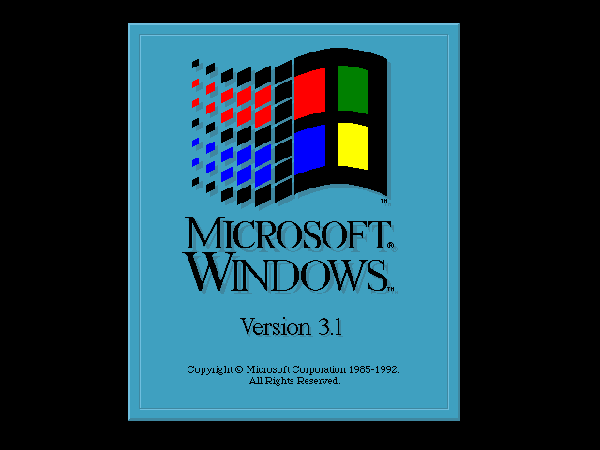
This article is for a bit of fund for you people looking to go back old school to the year 1992 when Windows started shipping a major release OS in Windows 3.1.
The very first Windows operating system was Windows 1 which was released on November 20th, 1985.
So with Windows 3 and 3.1, you are going way back in time to only 7 years since Microfot released their first major operating system.
What Are The Benefits Of Installing Windows 3.1 Emulator?
Well apart from going back in time over 30+ decades apart from it being cool to see how some of the oldest Windows operating systems actually operated you can benefit from these reasons below as well:
- Run Legacy Software – such as old applications and games on your modern Windows PC.
- Educational Purposes – You can install the Windows 3.1 emulator to learn about the different types of programming back then and other things related to older systems.
- Nostalgia – This is for those of you who are in your 30s and 40s right now and grew up with the Windows 3.0, 3.1, and 3.2 versions to take yourself back on a trip down memory lane.
See Why Windows 10 & 11 Are The Most Popular Operating Systems Of The 20th Century.
How To Download And Install Windows 3.1 Emulator On Your Windows PC & Laptop
Ok with all the above being said let’s dive into the nuts and bolts of getting this done. First, to run 16-bit Windows apps and games on your 64-bit Windows 10 or 11 you will need to use a program called DOSBox which will help with the emulator.
Please note: Windows 3.1 was an operating system that actually ran as one application on DOS, crazy when you think about the tech back then.
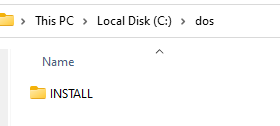
1. First you will need to create a folder named dos on your Windows hard drive. You can use the main C: drive if you want and just call the folder “dos“.
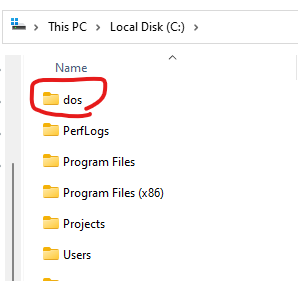
2. Now create a folder inside the dos folder named “INSTALL“
3. You will need to go to the link below which will automatically download Windows 3.1
https://archive.org/download/dosbox311/win3-11.zip
Make sure you download the ZIP folder right into the C:\dos\INSTALL folder you made earlier. It should look this below
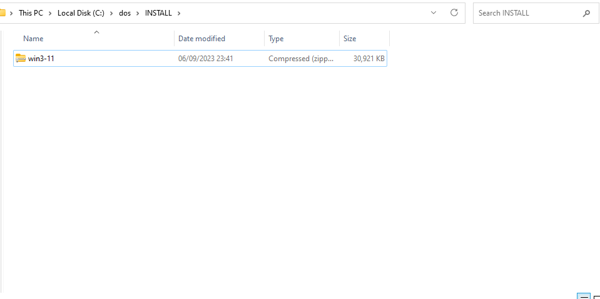
4. Now unzip the Windows 3.1 zip folder inside the Install directory. After completing your C:\dos\INSTALL folder should look like the below.

5. You will need to download and install DOSBox by clicking the below:
DOSBox Automatic Download – SourceForge
Once you have finished downloading the small DOSBox program then install it on your Windows 10 or 11 PC.
6. After completing the installation press the Windows key and type in DOSBox, This will now load up a DOS terminal window on your Windows screen.
7. Next type in the command below to go to the Microsoft Windows 3.1 folder you created earlier:
mount C C:\dos
After running the command you will see a notice appear which says “Drive C is mounted as a local directory C:\dos\“
8. Now switch to the C: drive by typing in this command in DOSBox:
C:You will now be in the C: drive so it is time to move into the INSTALL folder and type the below:
cd installimage
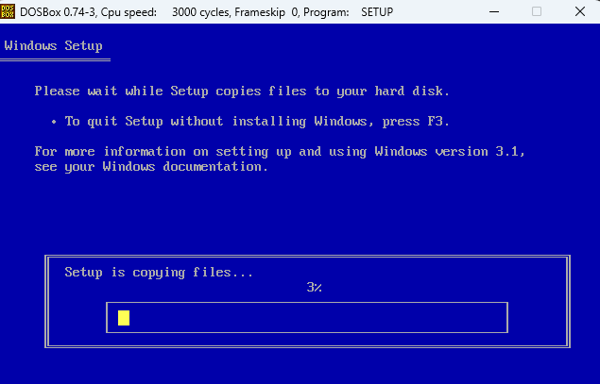
9. Simply execute this command below which will start to install Windows 3.1 on your DOSbox.
setup.exe
There you go a screen we are all used to as Windows Users not much has changed in the initial setup screen since the 80s.
See How to Run .PY (Python) Files On Windows 10 & 11.
10. Now press enter on your keyboard to set up the installation as an express installation unless you want a custom installation then you would press C.
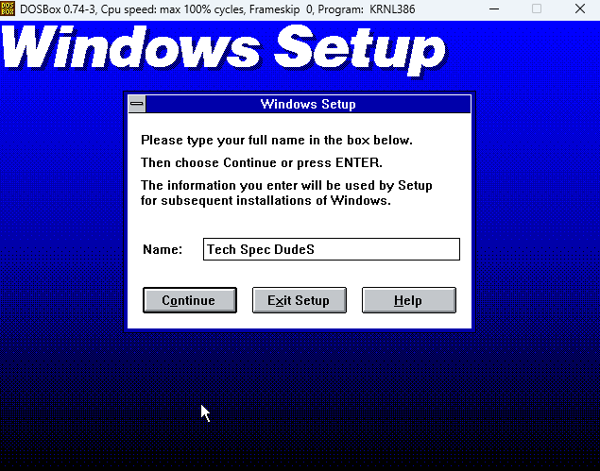
11. Now you can put your name in the name box and click continue
Please note: If you happen to be stuck in DOSbox and the mouse won’t move outside of DOSBox then press ALT + Tab to release yourself out of DOSBox.
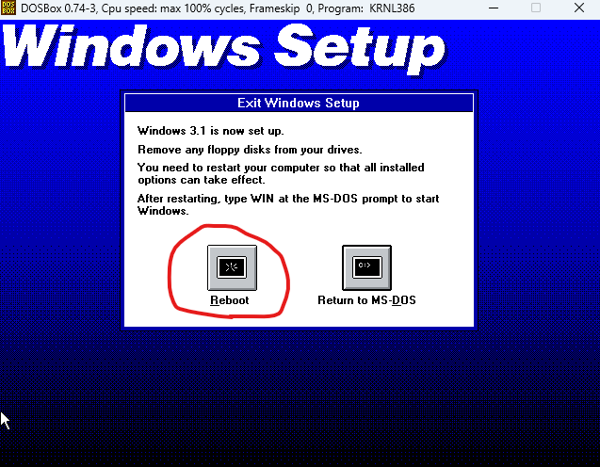
12. Now wait for the rest of the installation to finish, then choose no printer and skip the tutorial. Then choose Reboot.
13. Now re-open DOSBox and type these commands below, one by one
mount C C:\dos

C:

cd windows

win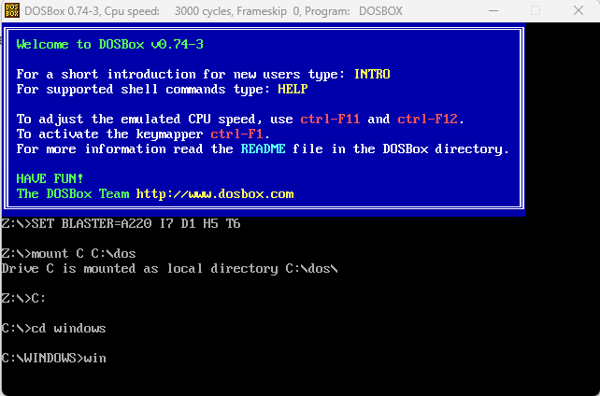
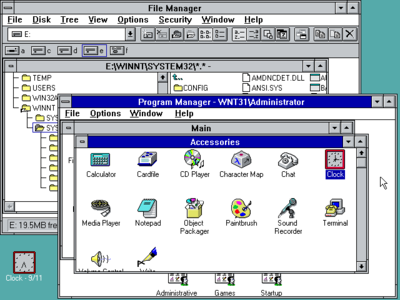
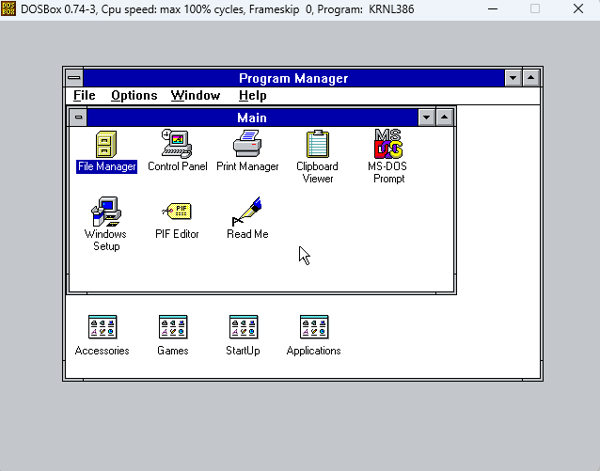
And VOILA!! ladies and gentlemen there you have it Windows 3.1 in all its glory You are now living back in 1992 my friend.
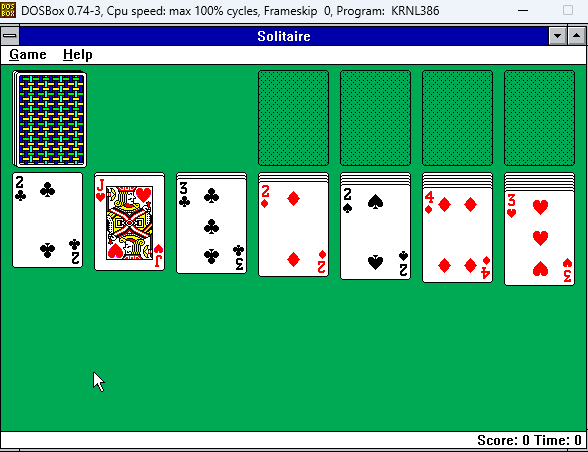
How about some Windows 3 solitaire ♠♥♦♣
Oh, wait some 1992 Minesweeper 💣
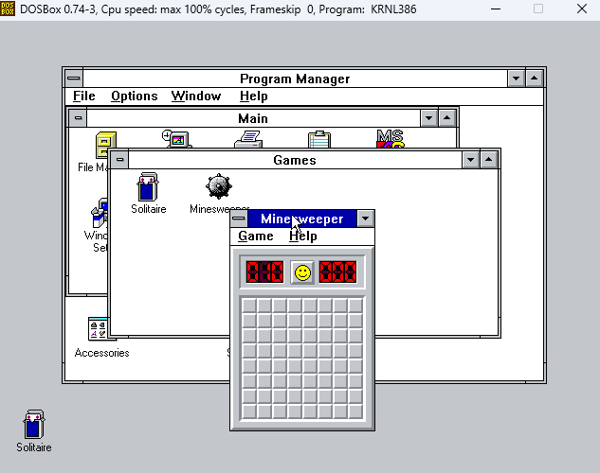
Anyway before I get too distracted I have an article to finish Retro gaming and playing around with old systems can be too much fun.
See If Windows XP Is Still Viable In 2023.
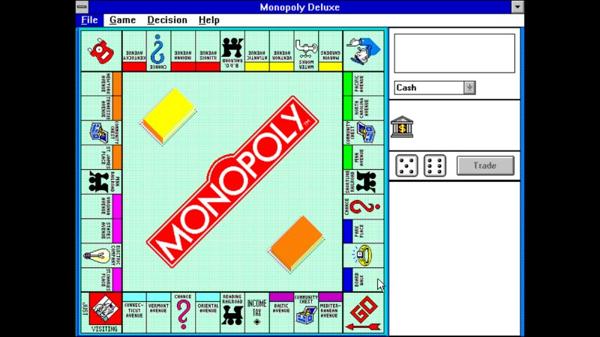
Now let’s see a quick way you can download any Windows 3.1 game and add it to your Windows 3.1 installation.
How To Play Any Game Made For Windows 3.1
First, you will need to go to your file explorer on your main Windows installation the make a new folder named GAMES inside the INSTALL folder you made before.
Then head over to Abandonware Dos’ official website and you can download any game you like from here.
Once you have downloaded a game it will come as a zip folder you must unzip (extract) the folder and have them in your GAMES Folder. So like the image below.

Now you will simply need to close down DOSBox then remount the C: drive and you will now see the games you have put in the games folder which you can now play.
Final Thoughts
We made a great tutorial that covers everything you need to know, A-Z, about using and installing a Windows 3.1 emulator on your Windows PC using DOSBox.
If you have Windows 3.1 running be sure to give this article a quick share as a thank you for the time and effort we put into making this.